Book Design: The Complete Guide to Designing a Professional Book
Master book design with this definitive guide to covers, interior layout, and typography. Learn how to design a book that looks professionally published.


A reader picks up your book. Before they read a single word, they've already decided something. The cover told them if it's professional or amateur. The interior confirmed it the second they opened to the first page. That whole judgment? Under three seconds.
Book design is what separates a real book from something that looks like it was made in a hurry. It's the cover, the interior layout, the fonts — all working together. When it's done right, nobody notices. When it's done wrong, that's all they notice.
So let's get into it. Covers, interiors, typography, tools, costs — the whole thing.
What Book Design Actually Encompasses
Most authors think book design means "getting a nice cover." That's about a third of it. Real book design breaks into three parts:
- Cover design — the thing that sells the book
- Interior layout — how content sits on the page
- Typography — the fonts and spacing that make it readable
These three have to work together. A great cover with a badly formatted interior feels off. The reader expected quality and got something that looks like a Word doc. Same problem in reverse — gorgeous interiors behind a clip-art cover.
What ties it all together is consistency. Every visual choice should feel like it belongs to the same book. That's what readers read as "professional."
Let's break each one down.
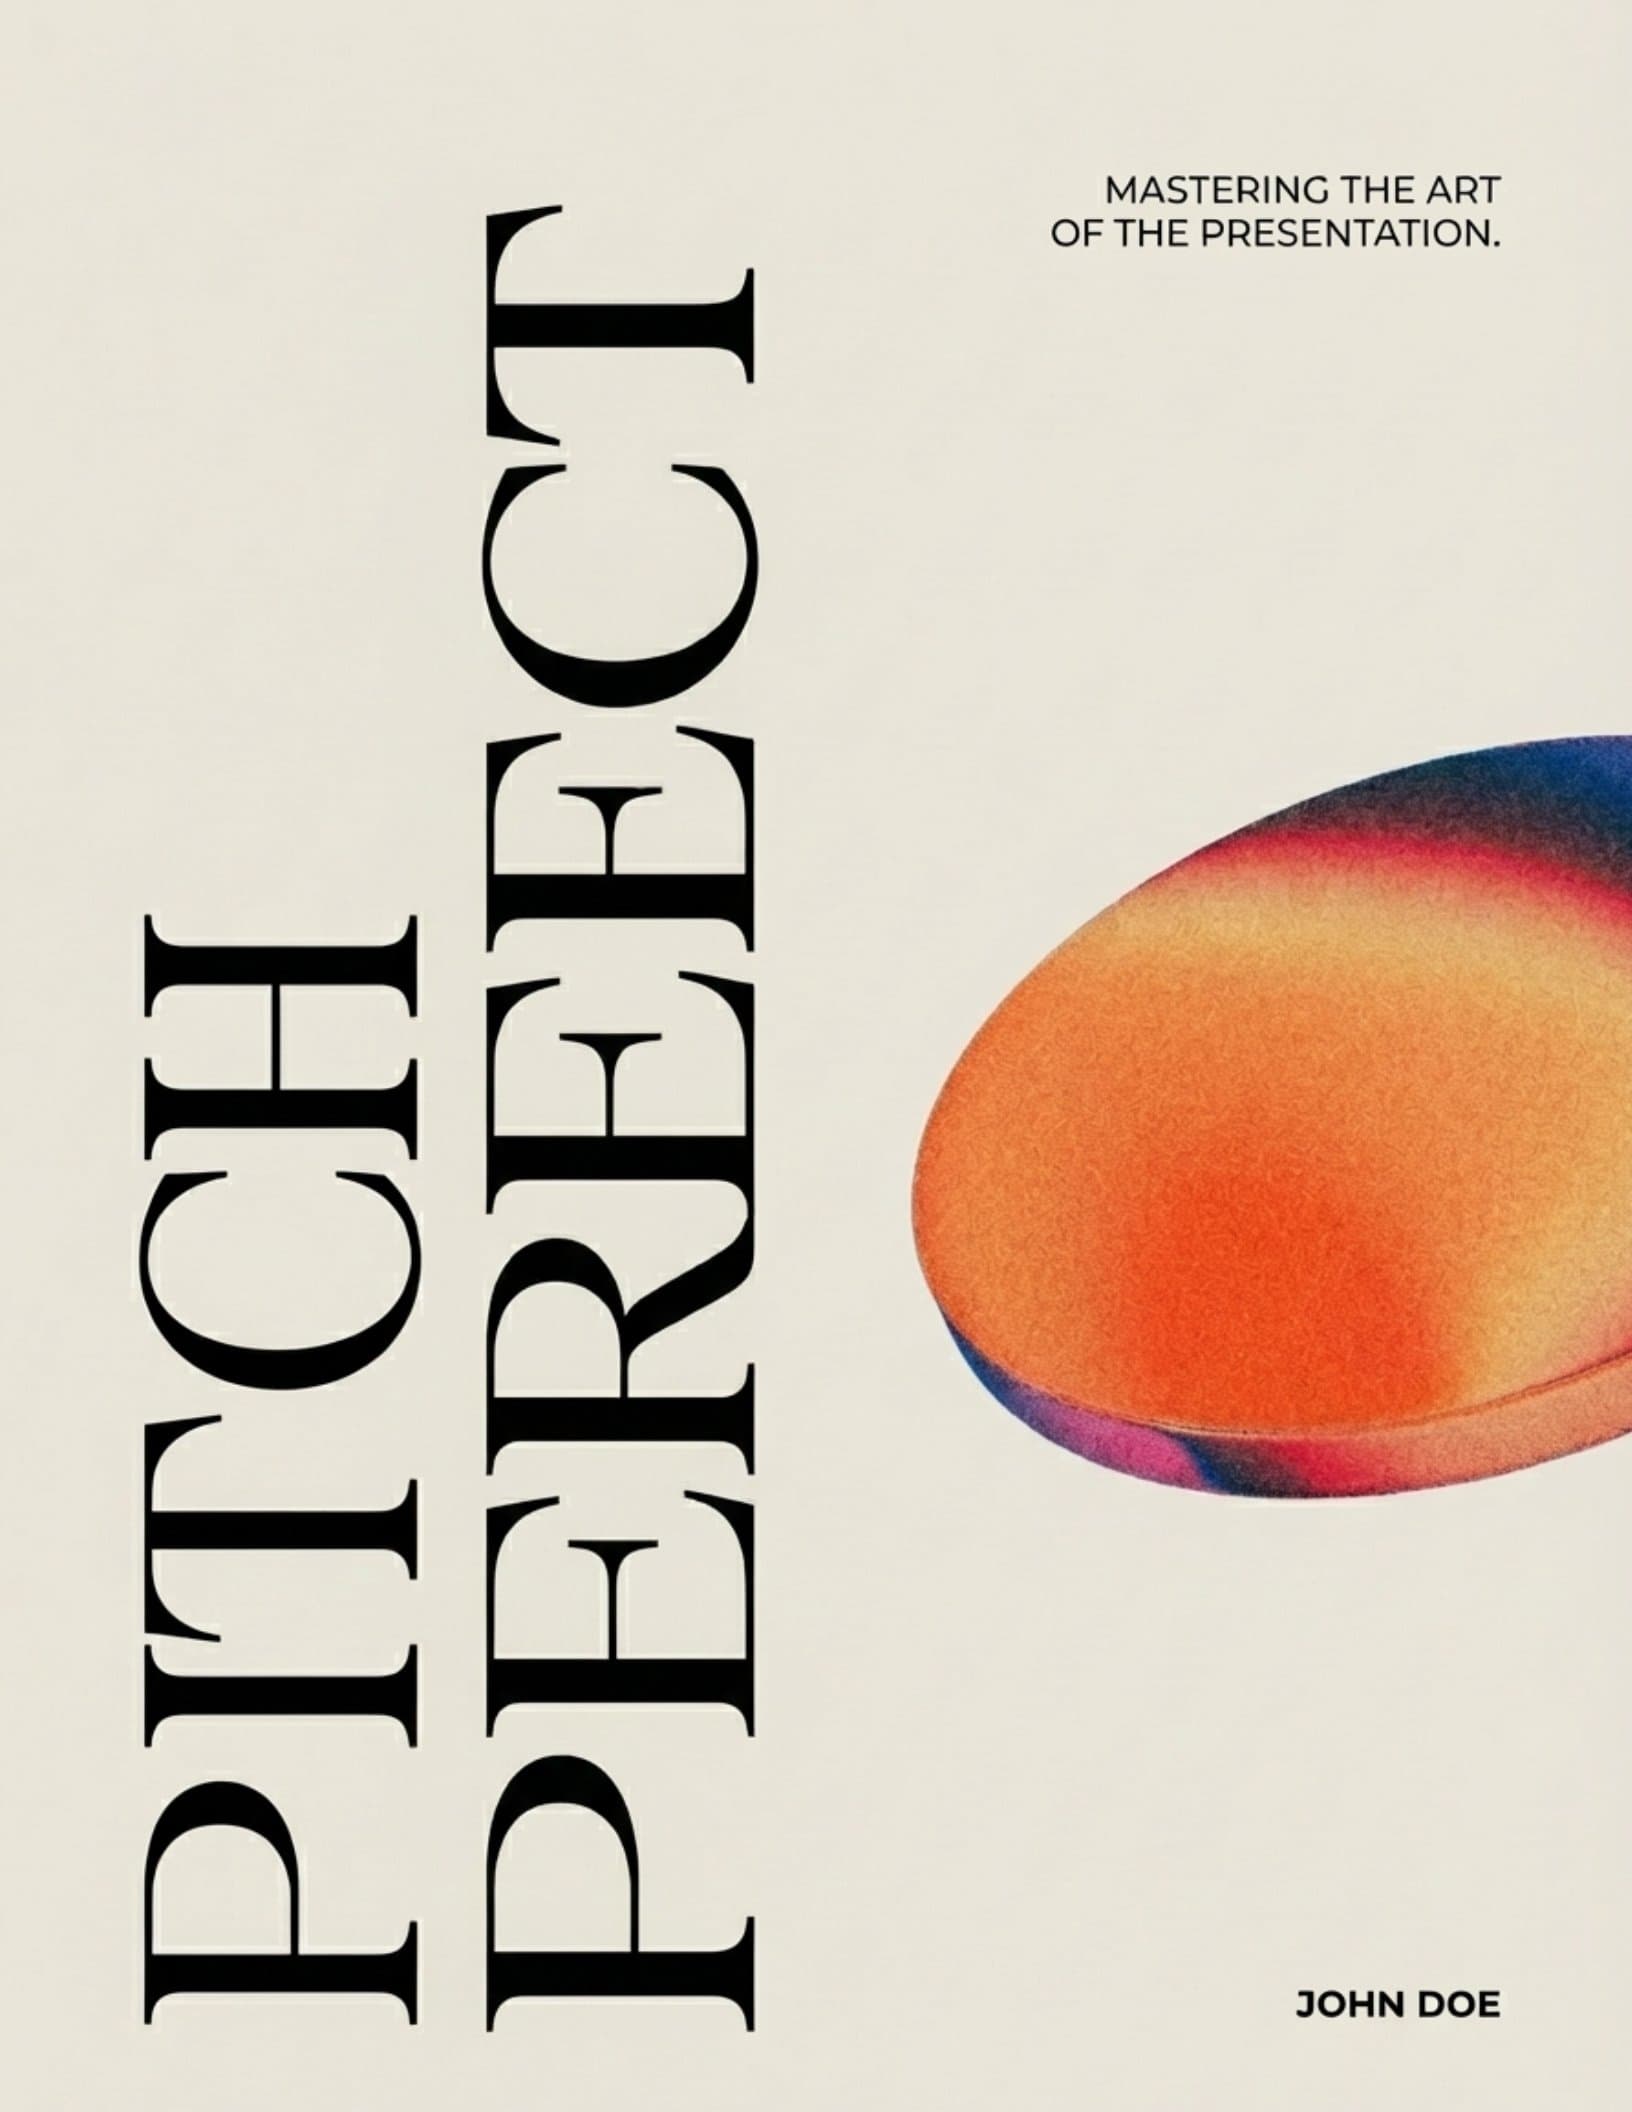
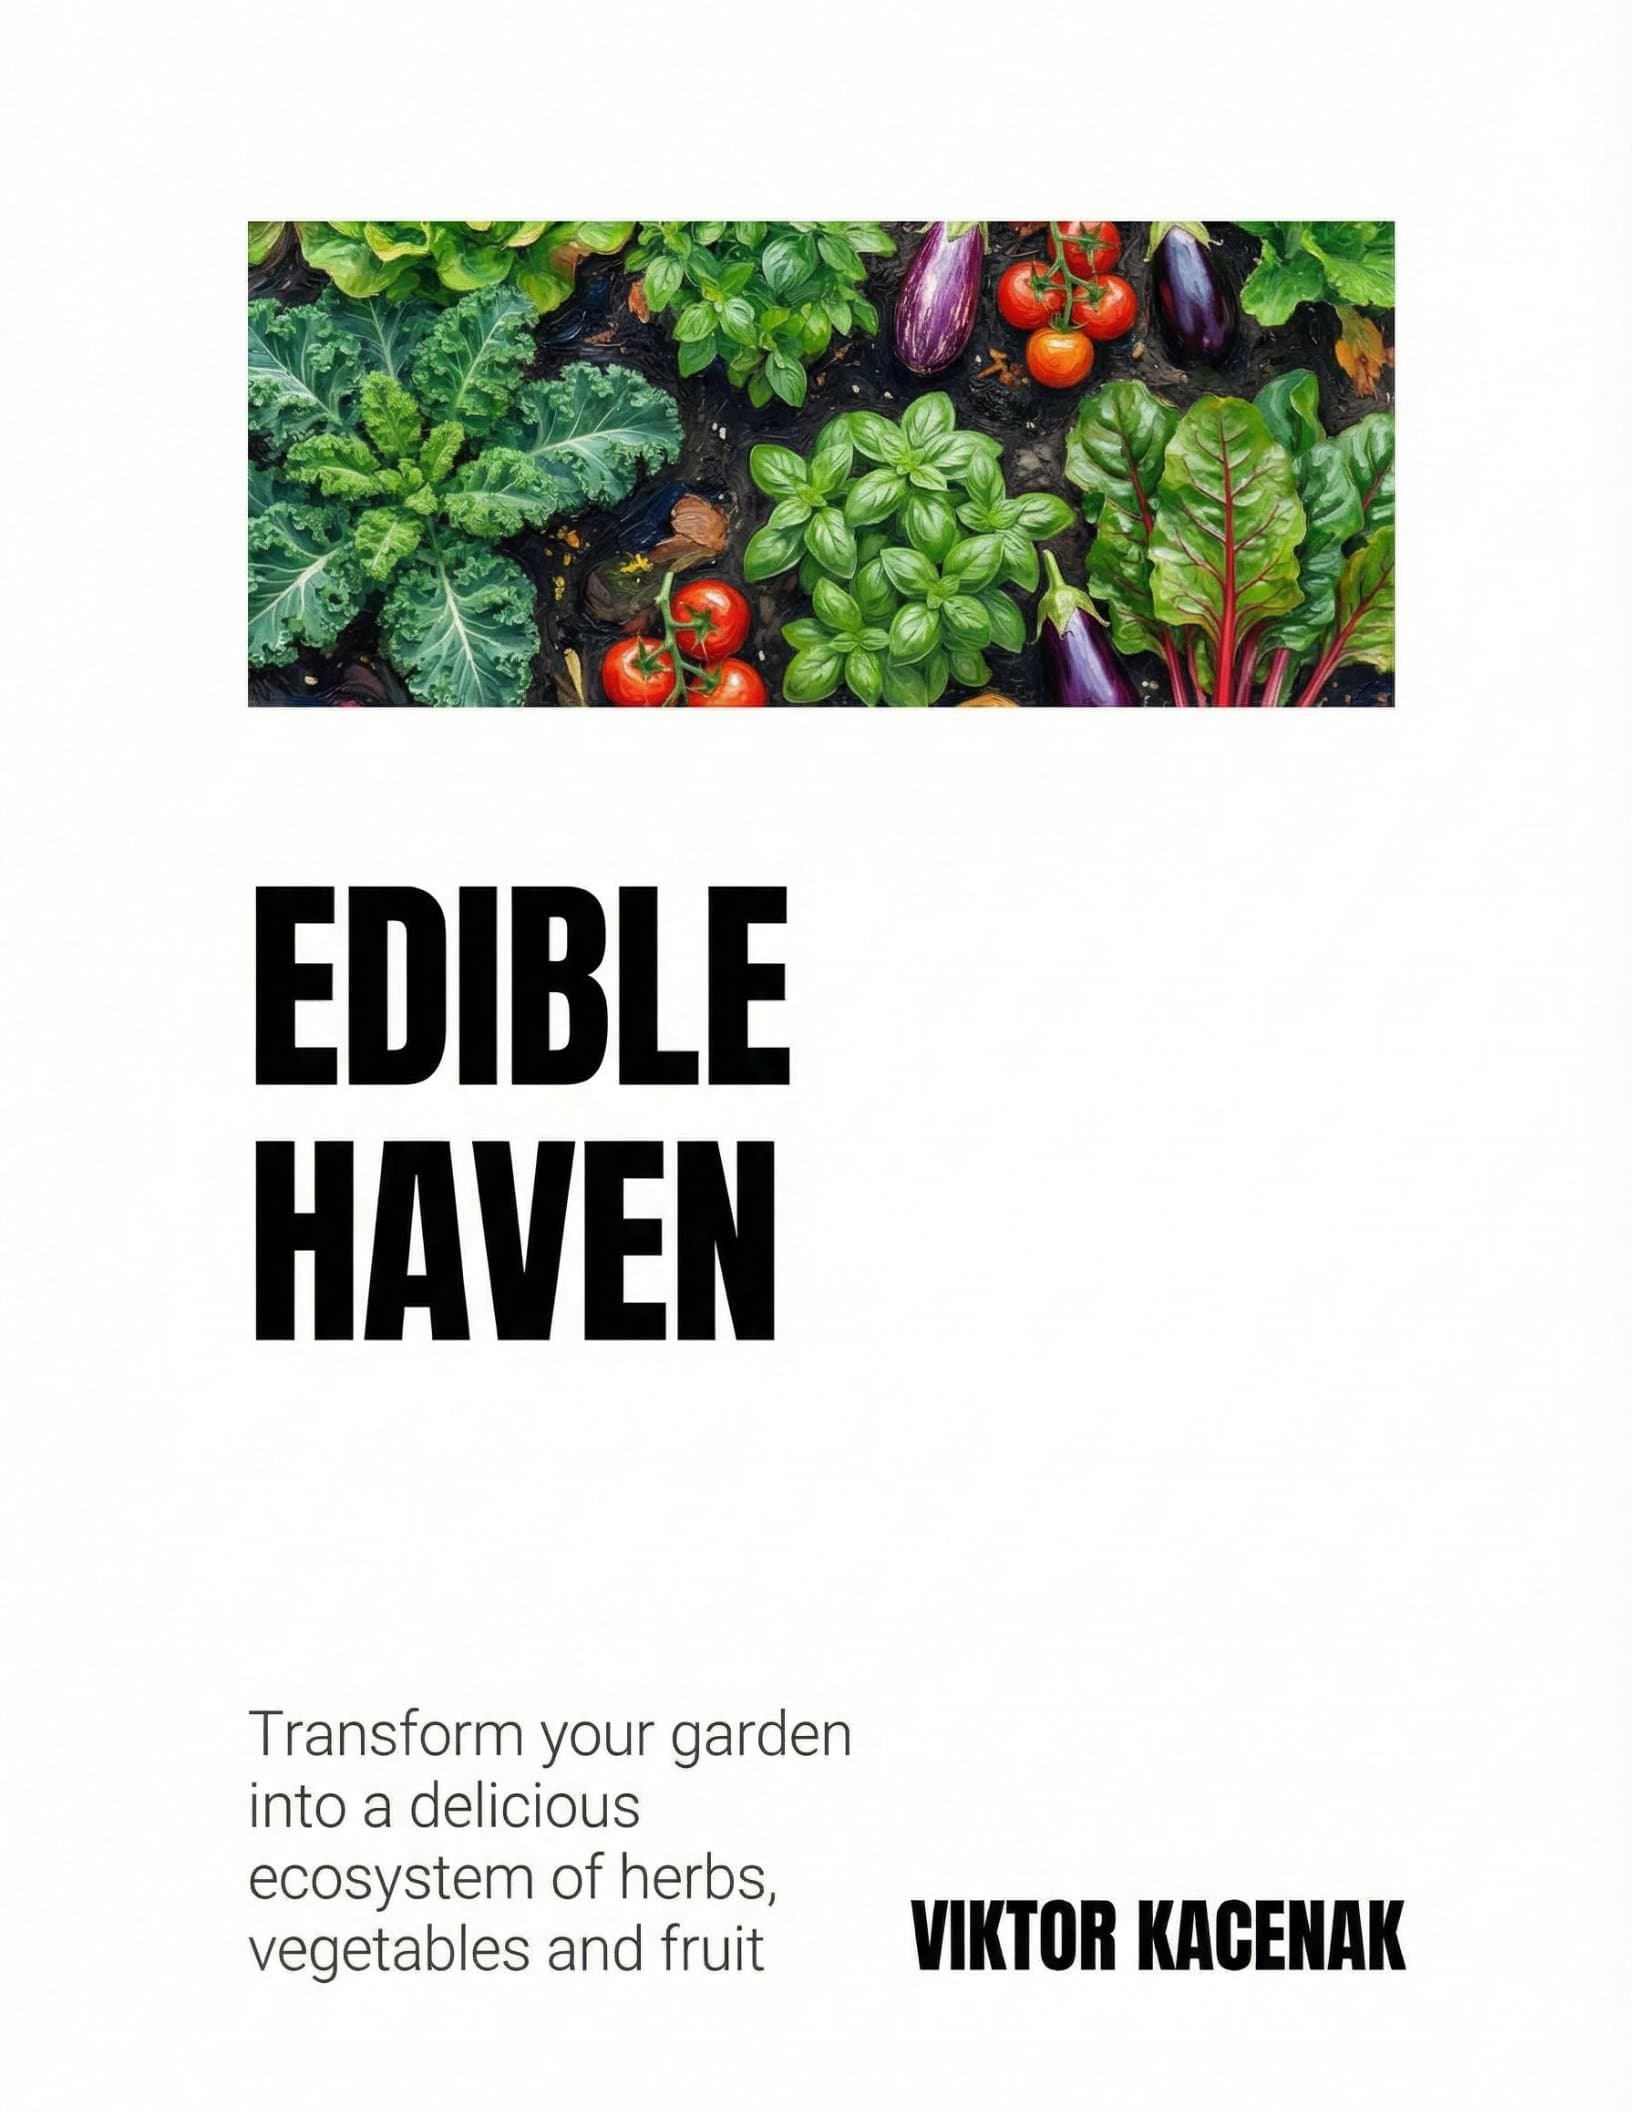
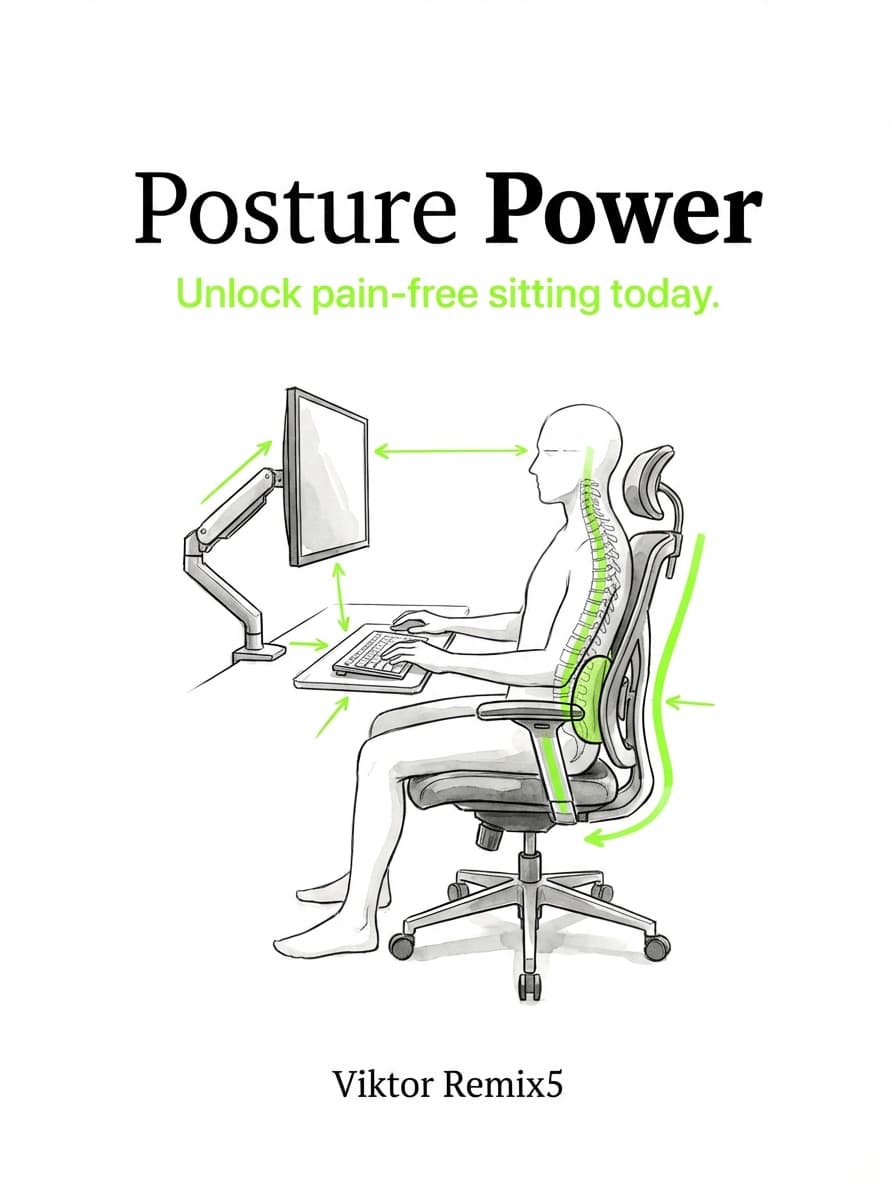
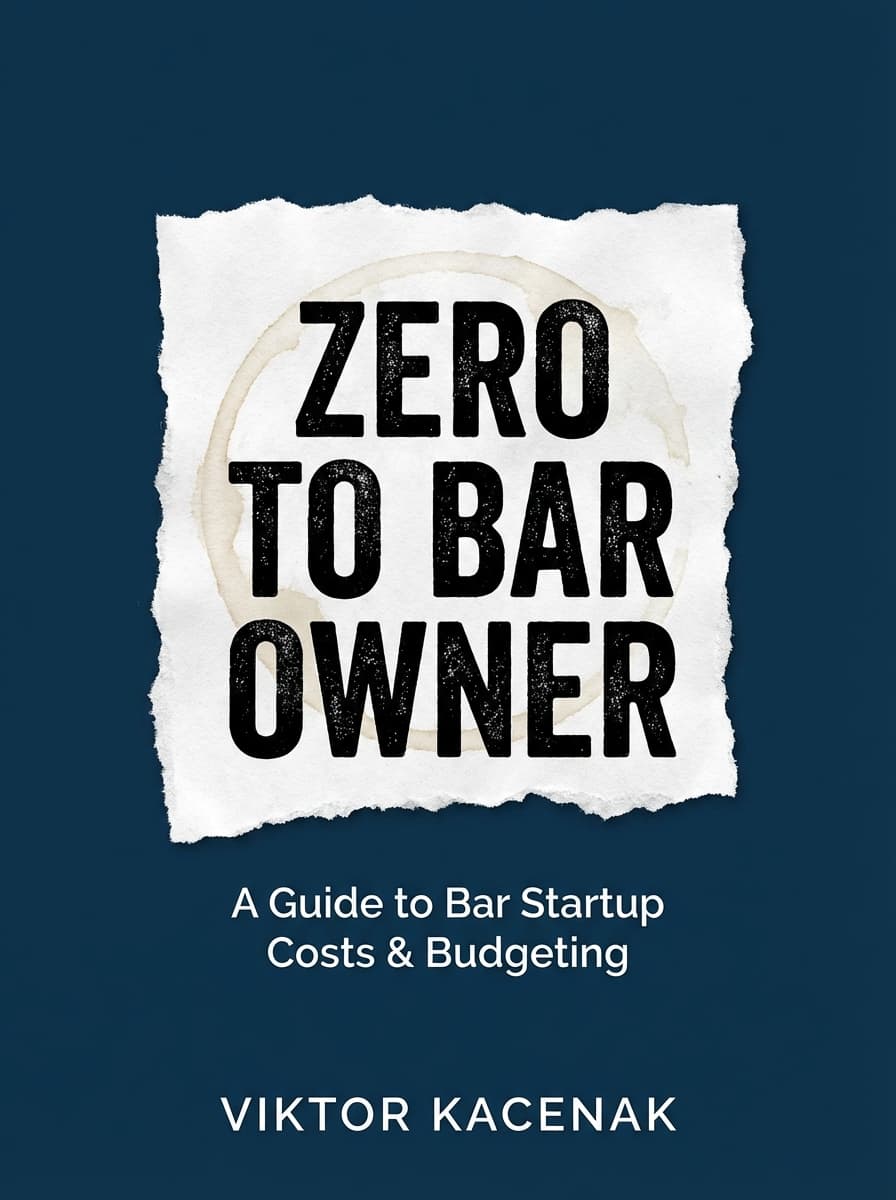
Pillar 1: Cover Design
Your cover is doing three jobs at once — billboard, brand, and sales pitch, all in a single image. Online, it's a tiny thumbnail fighting for attention against thousands of others. In a bookstore, a browser gives it maybe 1.5 seconds before moving on.

A good cover isn't about looking pretty. It's about communicating genre, tone, and quality at a glance.
Elements of an Effective Cover
Every strong cover juggles four things at once:
Cover Dimensions by Format
Different formats need different specs. Get these wrong and your cover gets rejected or looks distorted.
- Front cover: varies by trim size, but the standard 6" x 9" trim yields a front cover of 6.125" x 9.25" (with 0.125" bleed on each edge)
- Spine width: calculated based on page count and paper type (white paper = 0.002252" per page; cream paper = 0.0025" per page)
- Full wrap: front + spine + back, as a single file, typically 300 DPI, CMYK color space, PDF format
- Amazon Kindle: 2,560 x 1,600 pixels (1.6:1 ratio) recommended; minimum 1,000 x 625 pixels
- Apple Books: 1,600 x 2,400 pixels minimum
- General EPUB: 1,600 x 2,400 pixels at 72 DPI, RGB, JPEG or PNG
- ACX/Audible: 2,400 x 2,400 pixels (square format), minimum 72 DPI, JPEG or PNG
Front Cover, Spine, and Back Cover
A print cover is actually three surfaces that need to work as one design:
Genre-Specific Cover Conventions
Readers know their genres visually. They've seen thousands of covers and they expect certain cues. Breaking those conventions isn't creative — it's confusing. And confused people don't buy.
Pillar 2: Interior Layout (Book Page Design)
The cover sells the book. The interior determines whether the reader finishes it. Interior design is the system that organizes text and visuals on every page.

Bad interior design creates friction everywhere. Margins too narrow and the reader's thumbs cover the text. Line spacing too tight and every page becomes a wall of gray. Missing page numbers make the book feel unfinished. Good interior design removes all that friction so the reader just... reads.
Page Layout Fundamentals
- Outside margin: 0.75" (gives the thumb room)
- Top margin: 0.75"
- Bottom margin: 0.875" (a bit larger than top, which creates a nice visual lift)
- Inside margin (gutter): 0.875" minimum for perfect-bound books under 300 pages; 1" or more for thicker books
The gutter is where most amateur designs fail. Make it too small and text disappears into the binding. Thicker books need more gutter space because the pages curve more sharply toward the spine.
Front Matter
Front matter is everything before your main content. It sets the book's professional tone. Here's the standard order:
- Half-title page — just the title. No subtitle, no author name. The simplest page in the book.
- Also by page (optional) — lists your other works.
- Title page — full title, subtitle, author name, publisher. The book's formal identity page.
- Copyright page — copyright notice, ISBN, edition info, printer, rights, disclaimers. Always on the left-hand (verso) side.
- Dedication (optional) — usually a single line or short paragraph, centered on the page.
- Epigraph (optional) — a quote that sets the tone.
- Table of contents — chapter titles and page numbers. Fiction often skips this or keeps it minimal. Non-fiction needs it.
- Foreword (optional) — written by someone else.
- Preface (optional) — written by you.
- Acknowledgments (optional) — can also go in the back matter.
Not every book needs all of these. A novel might only have a half-title, title page, copyright page, and dedication. A big non-fiction reference might use all ten.
Chapter Openers
Chapter openers are where interior design gets to show some personality. They signal "something new starts here" and give the reader a mental breather.
Here's what goes into them:
Back Matter
Back matter comes after the final chapter. Common elements:
- Epilogue or afterword — final narrative content
- Appendices — supplementary material (charts, data, resources)
- Notes or endnotes — source references by chapter
- Bibliography — works cited or recommended reading
- Glossary — definitions of specialized terms
- Index — alphabetical topic reference with page numbers (mainly for non-fiction)
- About the author — a short bio, often with a photo
- Also by the author — can go in front or back matter
- Preview of next book — common in series fiction, with the first chapter as a teaser
Back matter is also a great spot for reader engagement. Ask them to sign up for your newsletter, leave a review, or visit your website. They just finished your book — this is when they feel most connected to you.
Pillar 3: Typography
Typography is how you set type so that written language is readable, legible, and pleasant to look at. In books, it's not decoration. It's the medium that delivers every word you wrote.
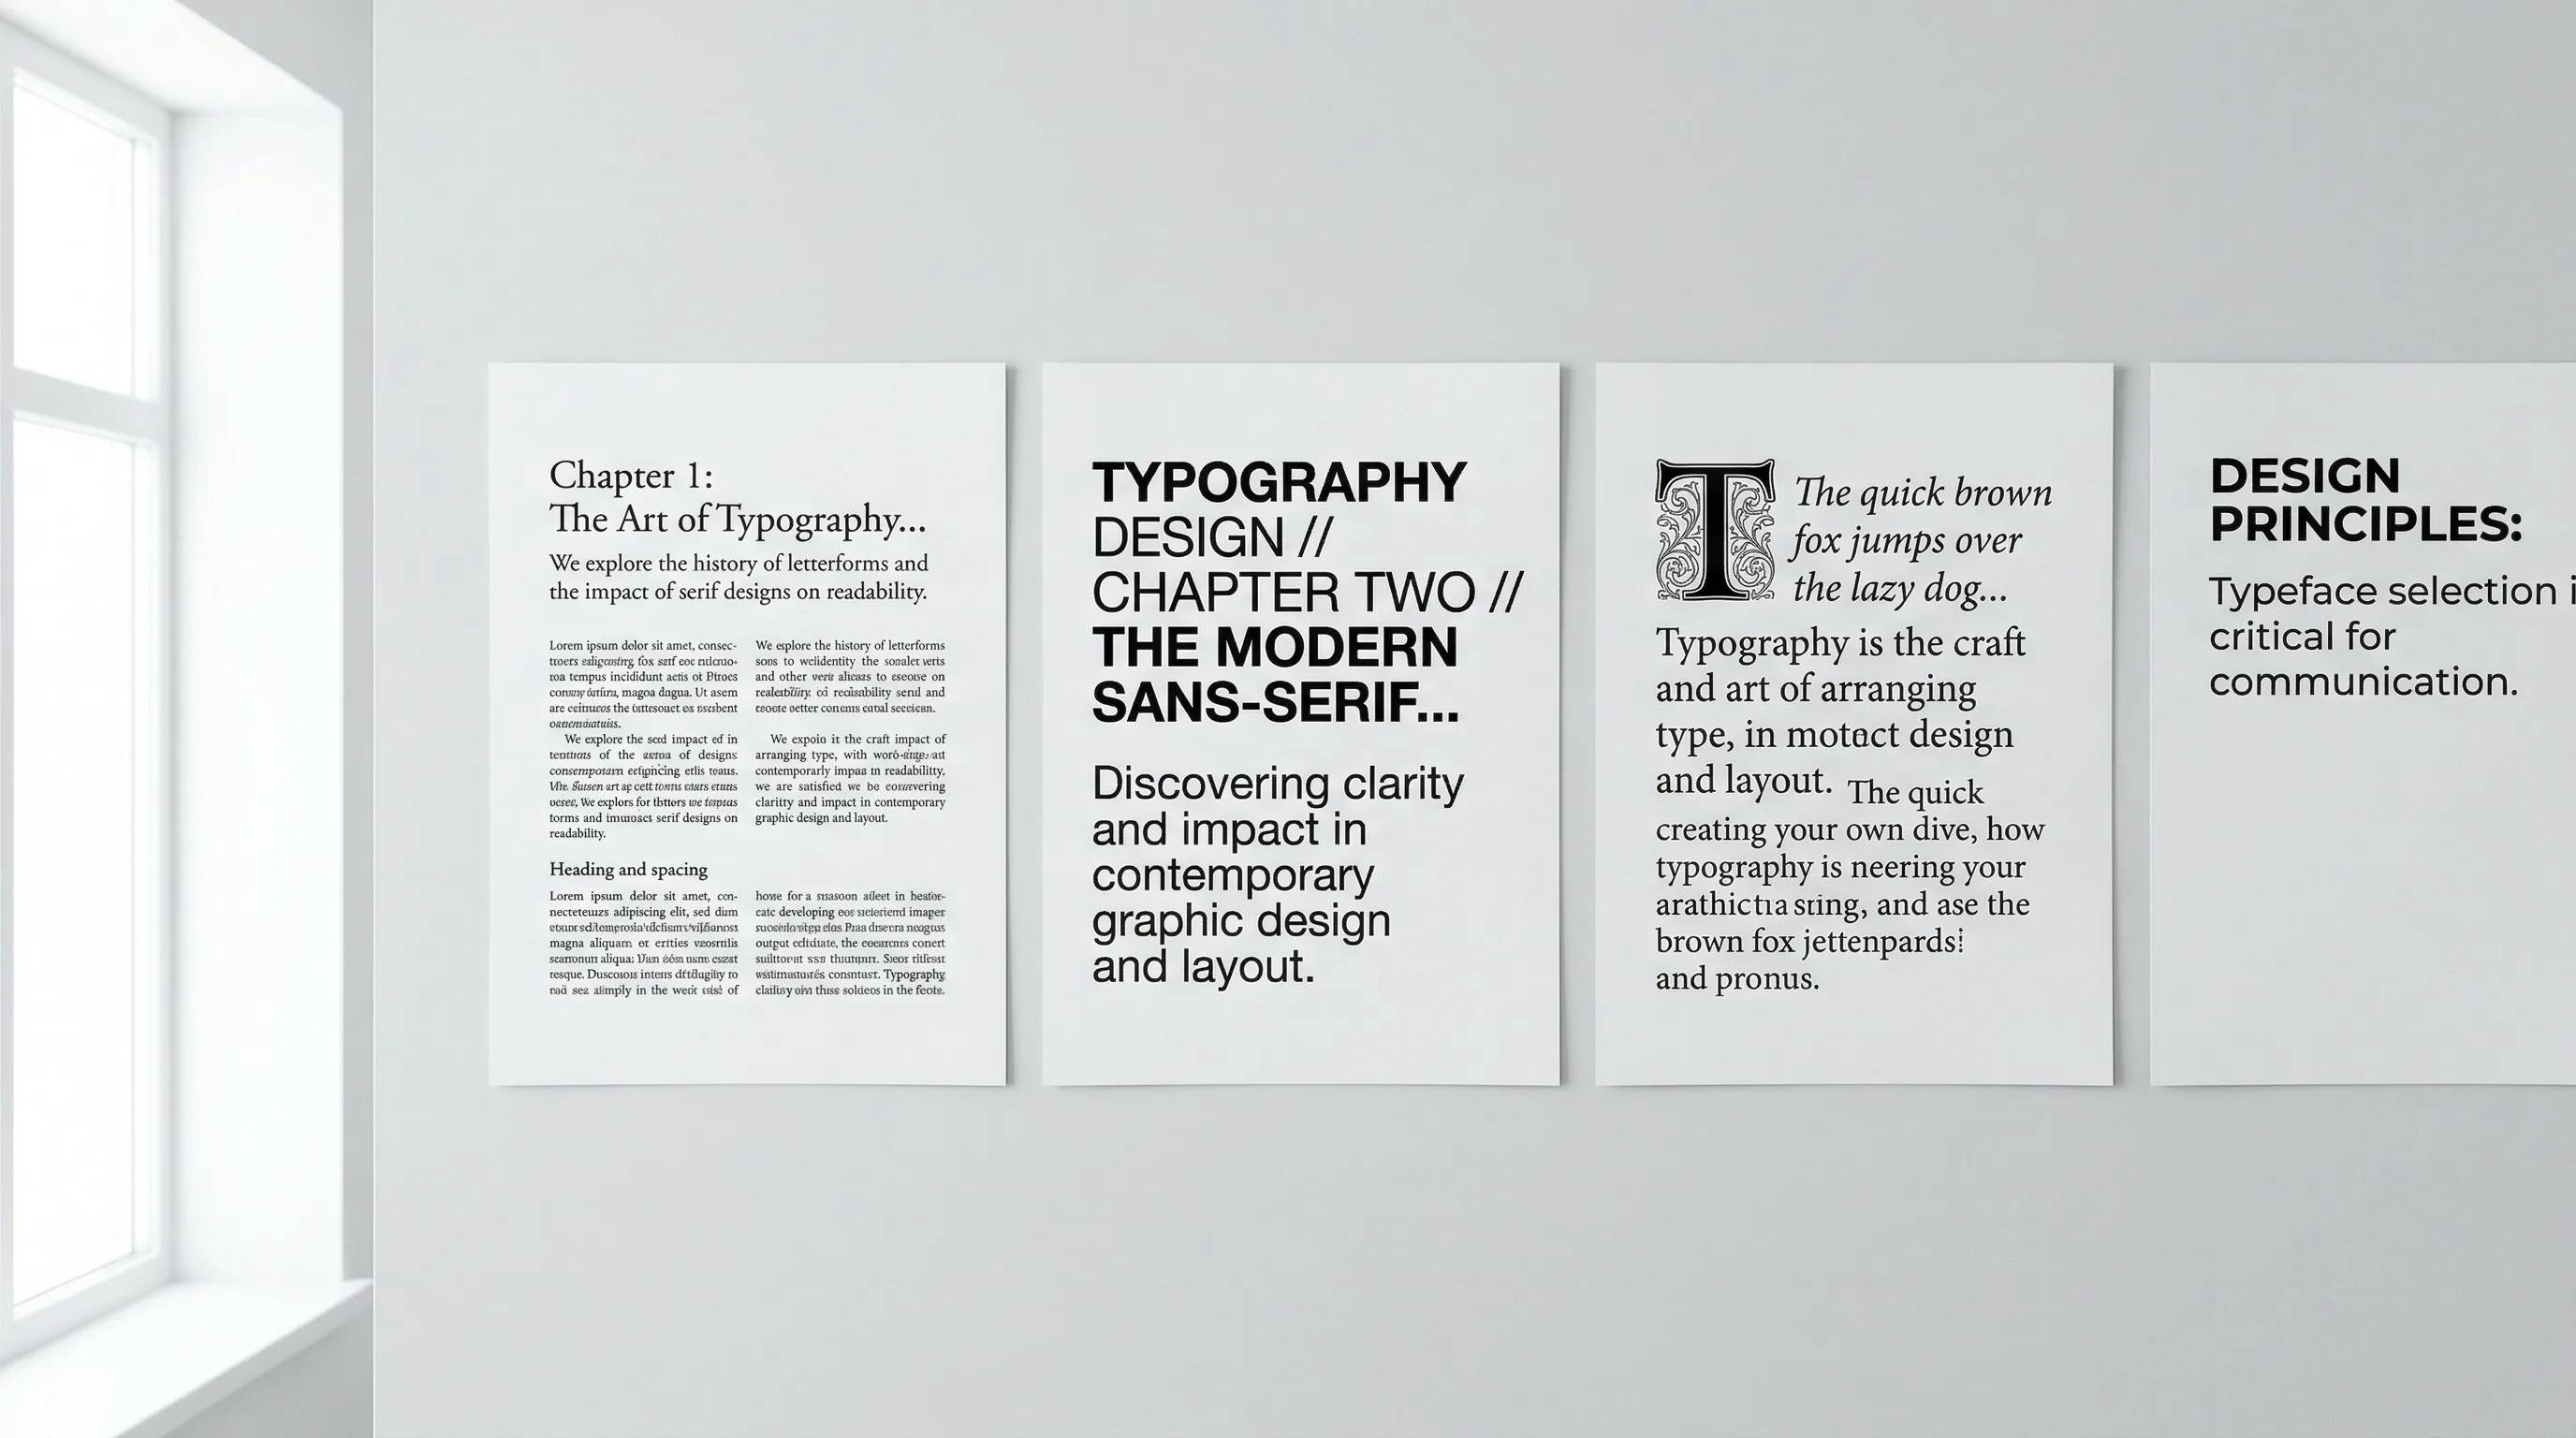
Bad typography wears readers out. Their eyes get tired. They lose their place. They put the book down and don't know why. Good typography is invisible — the reader flows through page after page without once thinking about the font.
Font Selection for Readability
- Garamond — elegant, space-efficient, great for fiction and literary non-fiction
- Caslon — warm and readable, a classic for general trade publishing
- Palatino — slightly wider, strong at smaller sizes, good for academic or reference work
- Baskerville — refined, high-contrast, great for literary and upscale non-fiction
- Minion Pro — modern but traditional-feeling, very versatile
- Sabon — clean and consistent, a favorite among professional book designers
Heading Hierarchy
A clear heading hierarchy tells readers where they are in the book at any moment. Standard setup for non-fiction:
- H1 — Chapter title: The biggest, boldest text on any interior page. Usually 18-24pt.
- H2 — Section heading: Major divisions within a chapter. 14-16pt, bold or semibold.
- H3 — Subsection heading: Divisions within a section. 12-13pt, bold or italic.
- H4 — Minor heading: Rarely needed. Same size as body text but bold, or run-in with the first sentence.
Fiction usually only needs H1 (chapter titles) and the occasional scene break.
The main rule: every heading level must look clearly different from the ones above and below it. If a reader can't instantly tell an H2 from an H3, something's broken.
Line Spacing, Paragraph Spacing, and Measure
Block-style paragraphs (no indent, space between) are standard for web content but look wrong in most book interiors. The exception is technical or reference books with heavily structured content.
Special Typographic Elements
Most books have elements beyond body text that need their own treatment:
Designing for Different Formats
Most authors today publish across multiple formats. Each one comes with different design constraints.
Print Book Design
Print is the most design-intensive format because everything is fixed. What you set is what the reader sees.
- 5" x 8" — compact, popular for fiction and smaller non-fiction
- 5.5" x 8.5" — a bit larger, good all-purpose size
- 6" x 9" — the most popular self-publishing size, works for almost everything
- 7" x 10" — larger format for workbooks, art books, cookbooks, illustrated non-fiction
- 8.5" x 11" — full letter size for textbooks, manuals, and journals
Ebook Design
Ebook design works under totally different rules because the layout is reflowable — the reader's device decides how things appear on screen.
- Font for headings and special elements (body font often gets overridden by the reader)
- Relative sizing and spacing (ems and percentages, not fixed points)
- Image placement and sizing (relative to screen width)
- Chapter structure and navigation (TOC is generated from heading markup)
- Cover image (shown in the store and library)
- Screen size and orientation
- The reader's font, size, and margin choices
- Exact line and page breaks
- Background color (dark mode, sepia, etc.)
So ebook design is more about building a solid structure than fixing a layout. Use proper heading tags (H1, H2, H3), semantic markup for quotes and lists, and relative spacing that works at any screen size.
PDF Design (Fixed Layout)
PDF is fixed-layout — what you design is exactly what the reader sees, on any device. You get full control over everything, similar to print.
PDFs work well for:
- Lead magnets and free downloads
- Workbooks and journals
- Technical manuals and reports
- Print-ready files for printers
When designing a PDF book, treat it like a print interior but optimize for screens: use slightly larger body text (11-12pt minimum), make sure links are clickable, and think about whether it'll be viewed on screen (RGB) or printed at home (keep it simple enough for consumer printers).
The Book Design Process: From Manuscript to Publish-Ready
Knowing the workflow helps you plan your time and budget. Here's how it goes:
Step 1: Manuscript Preparation
The manuscript needs to be done before design starts. Every word, every chapter, every heading — locked down. Designing while edits are still happening means expensive rework and version chaos. Clean up your file: use consistent heading styles, strip out manual formatting, apply structural markup (Heading 1 for chapters, Heading 2 for sections, etc.).
Step 2: Design Brief and Specifications
Nail these down before any design work begins:
- Trim size and binding type
- Genre conventions to follow (or intentionally break)
- Comparable titles (2-3 books whose design you like)
- Color palette preferences
- Target audience — age, reading context, expectations
- Format outputs — print, ebook, PDF, audiobook cover
Step 3: Cover Design
Cover design usually runs alongside interior design. The process:
- Research comparable covers in your genre and spot the conventions
- Develop 2-3 concept directions (thumbnails or mood boards)
- Pick a direction and develop it to a full design
- Test at thumbnail size for online visibility
- Create the full wrap (front, spine, back) for print
- Create ebook and audiobook cover versions
- Review and refine
Step 4: Interior Layout and Typography
- Pick and license fonts (body, headings, special elements)
- Set up the page grid (margins, text block, headers, footers)
- Design the chapter opener template
- Design special elements (block quotes, callouts, lists, images)
- Flow the manuscript into the template
- Fix widows, orphans, and awkward page breaks
- Generate the table of contents with final page numbers
- Create front and back matter pages
Step 5: Proofing and Export
- Print a proof copy (for print) or preview on multiple devices (for ebooks)
- Check every page for typos, layout issues, and inconsistencies
- Verify all images are high-res and properly placed
- Export final files: print-ready PDF (CMYK, 300 DPI, with bleed marks) for print; EPUB and/or MOBI for ebooks
- Submit to your distributor or printer and order a proof before wide release
DIY vs. Professional Book Design: What It Costs
Costs vary a lot depending on your approach:
The right pick depends on how many books you're doing, your budget, and your skills. A memoir that took five years to write probably deserves a professional designer. An author putting out six titles a year needs something faster.
Book Design Tools
The tool options have grown a lot. Here's a quick rundown:
- Adobe InDesign — the industry standard for print layout, steep learning curve, subscription pricing
- Adobe Photoshop/Illustrator — for cover design and image editing
- Vellum — Mac-only, beautiful templates, limited customization, one-time purchase
- Atticus — cross-platform, browser-based, good templates, one-time purchase
- Reedsy Book Editor — free, web-based, basic layouts only
- Canva — template-based, easy to use, limited for print-spec covers
- Book Brush — built for book mockups and ads, not final covers
- Placeit — template-based mockups and covers
- Authorio — handles the full pipeline from manuscript to published book. Generates covers, formats interiors, handles typography. Good fit for authors who want professional results without learning five different tools.
- Scribus — free InDesign alternative, powerful but steep learning curve
- GIMP — free Photoshop alternative for cover work
- Sigil — free EPUB editor for ebook formatting
The industry trend is clear: tools are consolidating. Authors want one platform for the whole design pipeline instead of stitching five tools together. The tradeoff is customization — separate tools give you maximum control, while an integrated platform gives you speed.
Book Design Checklist
Run through this before you publish. Check every item.
Cover Design Checklist
- Title is legible at 1-inch thumbnail size
- Design follows genre conventions for your category
- Front cover includes title, subtitle (if any), and author name
- Color palette and imagery match the book's tone
- Typography is sharp — not stretched, warped, or compressed
- Spine includes title and author name (if thick enough)
- Back cover has blurb, barcode area, and ISBN
- File meets printer specs (300 DPI, CMYK, correct dimensions with bleed)
- Ebook cover version created (correct pixel dimensions, RGB)
- Design tested on multiple backgrounds (white, dark, gray)
Interior Design Checklist
- Margins are generous enough for comfortable reading (especially the gutter)
- Text block is well-proportioned on the page
- Front matter is in the right order (half-title, title, copyright, dedication, TOC)
- Copyright page has all required info
- Chapter openers are consistent throughout
- Scene breaks are clearly marked (not just blank lines)
- Running headers and page numbers are consistent and correctly placed
- Front matter uses Roman numerals; body uses Arabic starting at 1
- Back matter is complete (about the author, also by, etc.)
- No widows (lone lines at the top of a page) or orphans (lone lines at the bottom)
Typography Checklist
- Body font is a readable serif at 10-12pt (print) or appropriate screen size
- Line spacing is 120-145% of body font size
- Line length is 55-75 characters per line
- Heading hierarchy is clear and consistent (H1 > H2 > H3)
- Paragraphs use first-line indent (not block spacing) unless genre-appropriate
- First paragraph after headings is flush left (no indent)
- Block quotes, lists, and special elements have distinct formatting
- No double spaces after periods
- Hyphens, en dashes, and em dashes used correctly
- Smart quotes (curly) throughout — no straight quotes
Format-Specific Checklist
- Print PDF is CMYK, 300 DPI, with bleed marks if required
- EPUB validates without errors (use EPUB Check or your distributor's validator)
- Ebook TOC is generated from heading tags and works correctly
- Images are embedded at appropriate resolution for each format
- Ebook previewed on at least 2 different devices or apps
- Print proof copy ordered and physically reviewed
Book Design Ideas and Inspiration
Building a good design eye takes exposure. Here are some ways to get there:
Making Book Design Manageable
Looking at the full list of decisions — cover imagery, spine width, gutter margins, type hierarchy, export specs for three formats — it can feel like a lot. And for most authors, design isn't why they started writing.
Here's the thing: the conventions exist because they work. You don't need to reinvent anything. A clean, genre-appropriate cover. Generous margins. A readable serif at a comfortable size. Consistent chapter openers. Proper front and back matter. That handles 90% of it.
Whatever route you take — DIY, freelancer, or AI tool — the principles here stay the same. Learn what professional book design looks like. Apply the basics consistently. Compare your output to published books in your genre. And remember: the best design is the kind nobody notices, because they're too busy reading.
Viktor Kacenak
“Great book design is invisible. When readers forget they're holding a physical object and lose themselves in your words — that's when you know you got it right.”
Recommended Reading
Book Layout: The Complete Guide to Professional Page Design
Learn how to create a professional book layout with proper margins, trim sizes, and page design. Covers fiction, nonfiction, workbooks, and more.

Book Manuscript Format: The Complete Guide to Formatting Your Manuscript Right
Learn the standard book manuscript format with exact specs for fonts, margins, spacing, and more. Covers fiction, nonfiction, submission, and self-publishing formats.

Book Typesetting: The Complete Guide to Professional Interior Layout
Learn book typesetting fundamentals — fonts, spacing, margins, and more. Master professional interior layout or let AI handle it for you.